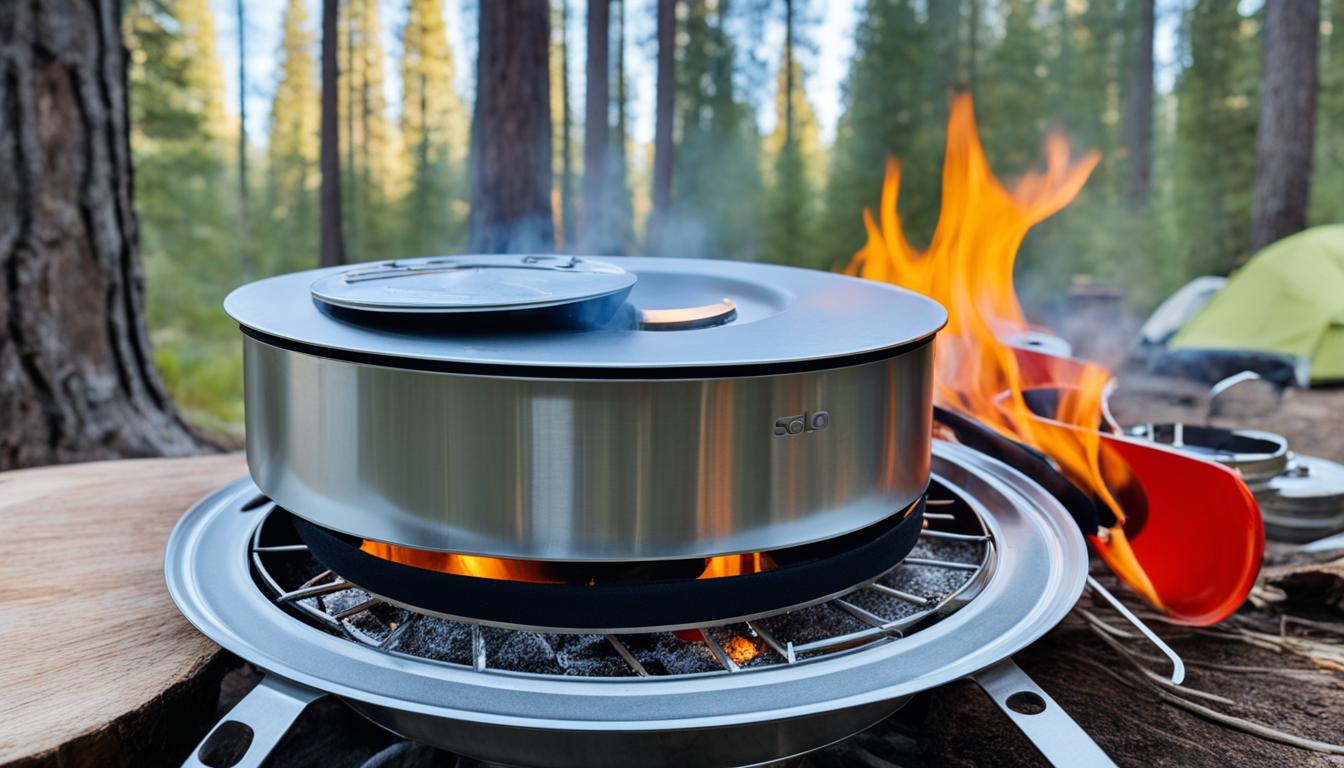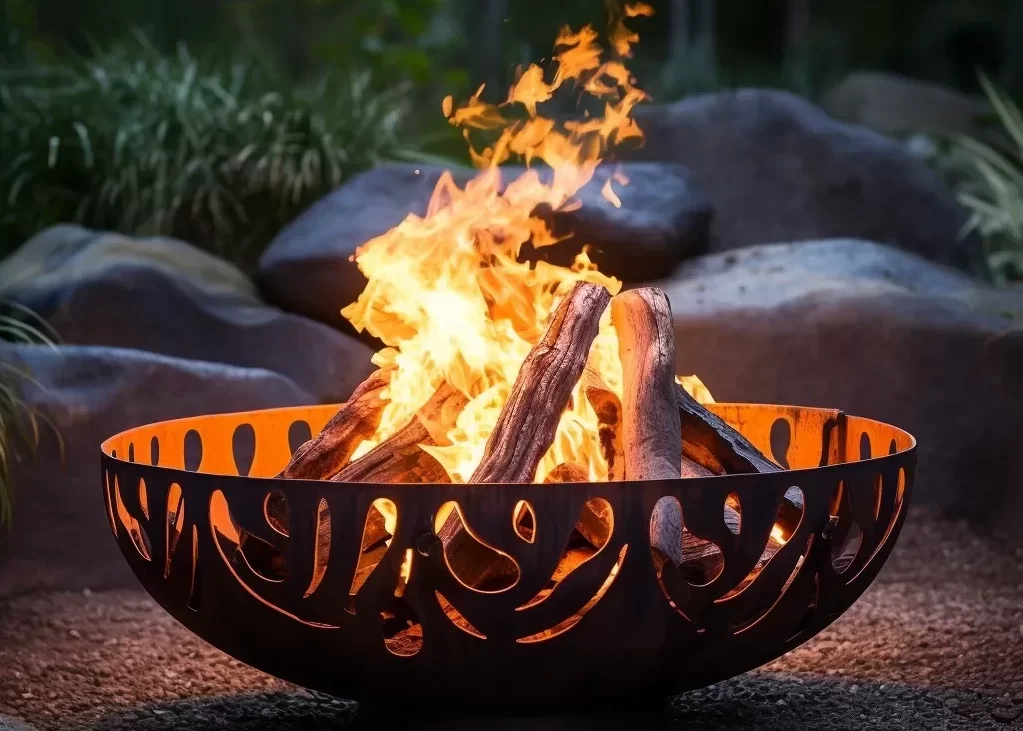


Imagine this: It’s a crisp autumn evening, and you’ve gathered with friends around your Solo Stove fire pit. The flames dance and crackle, creating a warm and inviting atmosphere. As the night progresses, the fire begins to die down, leaving behind a bed of glowing coals and a layer of ash.
While the fire has brought you joy and warmth, the task of cleaning up the ash can be daunting. You may wonder, “How do I get the ash out of my Solo Stove without making a mess?”
Well, fear not! With the right knowledge and techniques, removing ash from your Solo Stove can be quick and hassle-free. Maintaining your fire pit is essential for its performance and longevity. By following these easy steps, you can ensure a clean burn every time and keep your Solo Stove in optimal condition.
**Key Takeaways**
- Proper ash removal is crucial for maintaining your Solo Stove’s efficiency and performance.
- Choosing the right wood, like seasoned hardwoods or harder softwoods, can aid in easy ash removal.
- If your Solo Stove has a removable ash pan, simply slide it out and dispose of the accumulated ash. If not, shake the fire pit to dislodge loose debris and carefully empty the ash into a suitable container.
- Invest in a protective cover and store your fire pit in a dry area to prevent rust formation.
- Regular cleaning with a non-abrasive brush or cloth will keep your Solo Stove shining and ready for the next gathering.
Choosing the Right Wood
To optimize your Solo Stove’s performance and ensure easy ash removal, it’s crucial to select the right wood. By choosing the proper fuel, you can enhance the clean burn and overall functionality of your Solo Stove fire pit.
Hardwoods for Clean Burning
When it comes to choosing the right wood for your Solo Stove, hardwoods are a top choice. Hardwoods such as oak, pecan, and hickory provide long-lasting, hot-burning fires that produce minimal smoke and ash. These dense woods offer a clean and efficient burn, making ash removal a breeze.
Harder Softwoods for Easy Ash Removal
While hardwoods are ideal, some softwoods can also be used in your Solo Stove fire pit. Harder softwoods like juniper and cedar have similar benefits to hardwood, offering a clean burn and ease of ash removal. These woods are known for their aromatic properties, creating a pleasant ambiance while minimizing ash accumulation.
To ensure optimal burn and ash removal, it’s important to use seasoned wood that is free from moisture. Seasoned wood burns more efficiently, reducing the likelihood of a smoky flame and making clean-up hassle-free.
When fueling your Solo Stove fire pit, choose the right wood to maximize its performance. Whether you prefer hardwoods or harder softwoods, the key is to select seasoned wood that promotes a clean burn and easy ash removal. Enjoy your Solo Stove experience to the fullest with the best fuel for your fire pit.
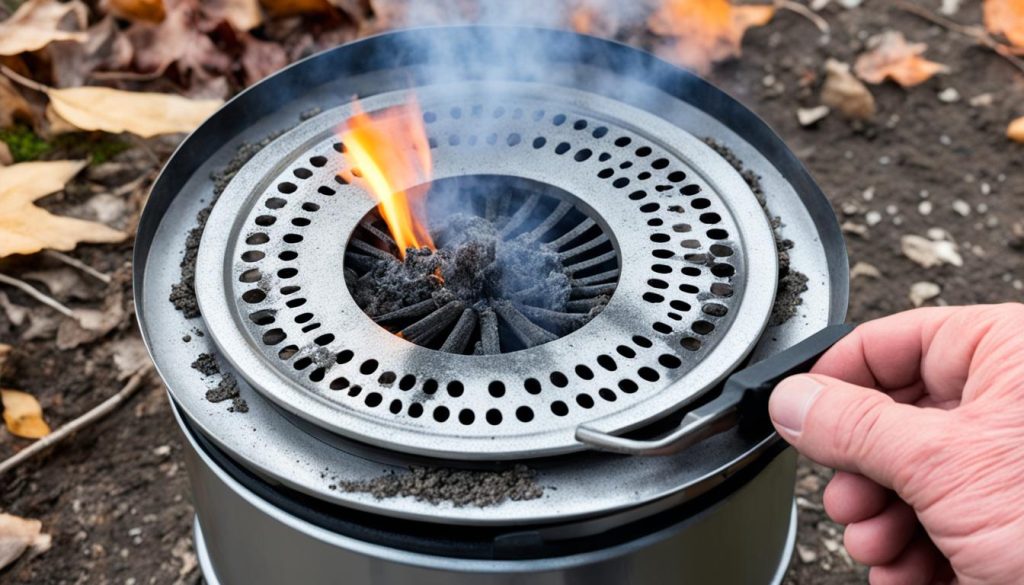
Proper Ash Removal
After each use of your Solo Stove fire pit, it’s important to remove the ash properly to maintain its efficiency. Proper ash removal not only helps improve the performance of your fire pit but also ensures safe and clean burning for future use.
If your Solo Stove model has a removable ash pan, follow these simple steps:
- Slide out the ash pan from the bottom of the fire pit.
- Dispose of the accumulated ashes in a suitable container.
- Make sure to extinguish any remaining embers before disposal.
For Solo Stove models without a removable ash pan, you can still effectively remove the ash by following these steps:
- Gently shake the fire pit to dislodge loose debris.
- Carefully empty the ash into a suitable container.
- Ensure all embers are fully extinguished before disposal.
Remember, it’s important to handle the ash with care to prevent any accidental fires. Ensure the ashes are cold before disposing of them.
“Proper ash removal is crucial for maintaining the efficiency and performance of your Solo Stove fire pit. Regular ash removal prevents build-up, allowing for optimal airflow and a cleaner burn.”
To help you visualize the proper ash removal process, here is a step-by-step guide:
| Removable Ash Pan | No Removable Ash Pan |
|---|---|
 | |
|
|
Additional Maintenance Tips
In addition to ash removal, proper maintenance is crucial for keeping your Solo Stove in top shape. Follow these tips to ensure a lifetime of enjoyment from your fire pit.
Invest in a High-Quality Protective Cover:
Shield your Solo Stove fire pit from the elements with a high-quality protective cover, such as the Solo Stove Shelter. This will help prevent damage caused by rain, snow, and UV rays. The cover should fit snugly to provide maximum protection.
Store or Cover Your Fire Pit:
When your fire pit is not in use, it’s important to store it in a dry area or cover it with a suitable cover. This will minimize the risk of rust formation and keep your fire pit looking its best. Ensure that the fire pit is fully cooled and all embers are extinguished before covering or storing.
Clean Stainless Steel Parts Carefully:
When cleaning the stainless steel parts of your Solo Stove, use a non-abrasive brush or soft cloth. Avoid using water or liquid cleaners, as they can cause discoloration or damage to the finish. Gently scrub the stainless steel surface to remove any dirt or debris.
Follow these maintenance tips to keep your Solo Stove fire pit in excellent condition and prevent rust formation. With proper care, your fire pit will continue to provide you with cozy outdoor experiences for years to come.
| Maintenance Tips | Description |
|---|---|
| Invest in a High-Quality Protective Cover | Shield your fire pit from the elements with a durable and snug-fitting cover. |
| Store or Cover Your Fire Pit | Keep your fire pit protected from moisture and minimize the risk of rust formation. |
| Clean Stainless Steel Parts Carefully | Use a non-abrasive brush or soft cloth to clean the stainless steel parts and avoid water or liquid cleaners. |
Conclusion
Proper maintenance and ash removal are vital for ensuring the longevity and performance of your Solo Stove fire pit. By following these simple tips, you can enjoy a clean burn and a well-maintained fire pit season after season.
Choosing the right wood is the first step to a successful fire. Opt for hardwoods like oak, pecan, and hickory, or harder softwoods like juniper and cedar. Seasoned and moisture-free wood ensures a clean burn and easy ash removal.
After each use, remove the ash from your Solo Stove fire pit. If your model has a removable ash pan, easily slide it out and dispose of the accumulated ashes. For models without a removable pan, gently shake the fire pit to dislodge loose debris and carefully empty the ash into a suitable container.
In addition to proper ash removal, consider investing in quality accessories like a protective cover and handle. The Solo Stove Shelter offers excellent protection from the elements, while storing your fire pit in a dry area or covering it when not in use helps prevent rust formation. Cleaning the stainless steel parts with a non-abrasive brush or soft cloth further ensures the longevity of your Solo Stove.
Take care of your Solo Stove, and it will take care of you. With these maintenance tips, you can maximize the lifespan and performance of your Solo Stove fire pit, ensuring many memorable moments around the flames for years to come.
Recommended