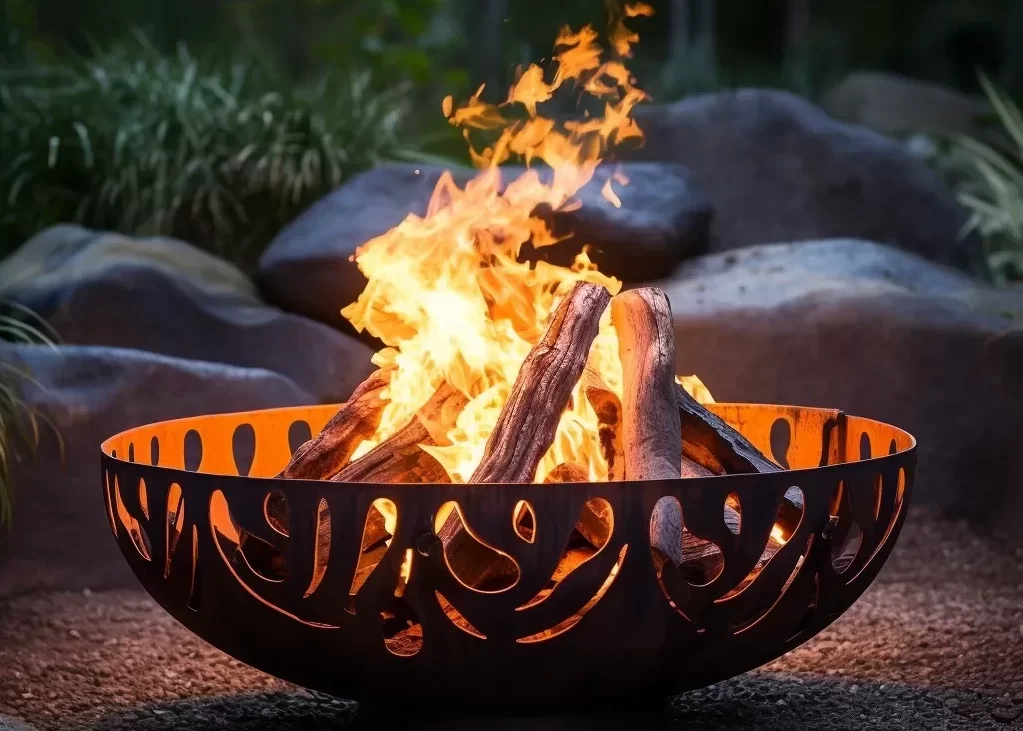


Are you looking to add a unique and stylish centerpiece to your backyard? Have you ever considered building your own fire pit? Contrary to popular belief, constructing a DIY concrete fire pit is not only achievable but also a rewarding project that can transform your outdoor space. From the thrill of creating something with your own hands to the countless hours of enjoyment around a crackling fire, building your own fire pit is an experience like no other.
But where do you start? How do you ensure a successful outcome? In this comprehensive guide, we will take you step-by-step through the process of building a DIY concrete fire pit. You will learn everything from choosing the right location to adding finishing touches that reflect your personal style. So, put on your DIY hat and let’s get started on creating a backyard gathering spot that will leave your friends and family in awe.
- Building a DIY concrete fire pit is a rewarding project that can transform your backyard.
- Contrary to popular belief, constructing your own fire pit is achievable with the right guidance.
- Through this comprehensive guide, we will provide step-by-step instructions to help you create the perfect fire pit.
- From choosing the right location to adding personal touches, you’ll have the knowledge to build a fire pit that reflects your style.
- Let’s embark on this DIY adventure and create a space that will provide warmth and joy for years to come.
Choosing the Right Location for Your Fire Pit
Before you start building your DIY concrete fire pit, the first step is to carefully select the perfect location in your backyard. The ideal spot will not only create a stunning centerpiece but also ensure safety and convenience for your outdoor gatherings.
When choosing the fire pit location, consider the following factors:
- The proximity to your home: A backyard fire pit should be located at a safe distance from any structures or overhanging trees to minimize fire hazards. It should also be easily accessible for carrying firewood and other supplies.
- Wind direction and exposure: Analyze the prevailing wind direction in your area and choose a location that provides shelter and minimizes smoke blowback. Additionally, ensure that the fire pit is not too close to fences or other combustible materials.
- Ground conditions: Look for a level and stable area in your backyard to build the fire pit. Avoid locations with underground utilities, such as gas lines or irrigation systems. If needed, consult with your local utility companies to ensure safety.
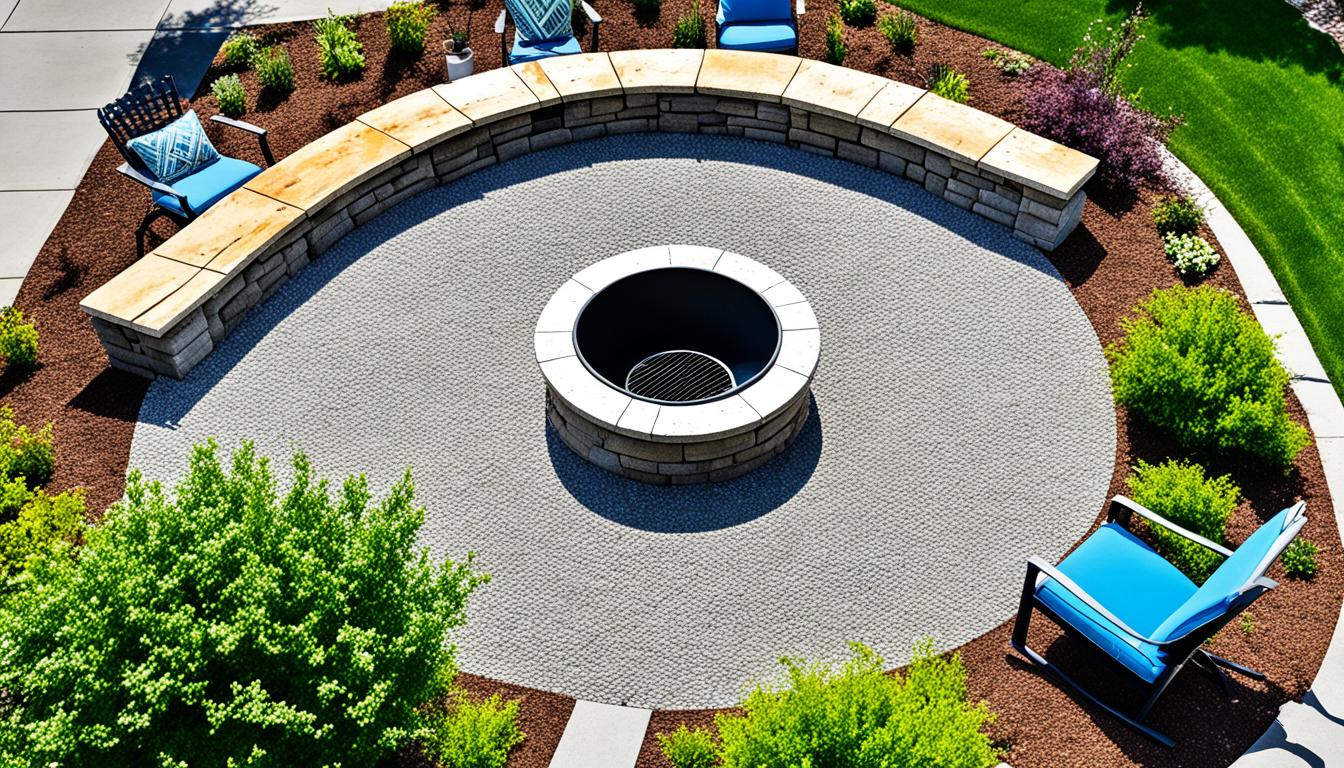
- Seating and space: Consider the layout of your backyard and ensure there is enough space for seating and movement around the fire pit. Create a cozy setting by incorporating seating options such as outdoor chairs, benches, or even built-in seating walls.
Once you have identified a suitable location, mark the area and clear any vegetation or debris as necessary. Use a level to ensure the ground is even before proceeding with the construction process.
“Choosing the right location is key to creating a backyard fire pit that becomes a focal point for outdoor gatherings. Consider safety, wind patterns, and overall aesthetics to create the perfect ambiance.”
By carefully considering these factors, you can select the ideal location for your DIY concrete fire pit. Remember to prioritize safety and convenience, creating a backyard space that serves as a welcoming outdoor gathering spot for friends and family.
Continue reading the next section, where we will guide you through gathering the necessary materials and tools for your DIY concrete fire pit!
Gathering the Necessary Materials and Tools
Building a DIY concrete fire pit requires specific materials and tools. In this section, we will list all the supplies you’ll need and explain their importance in the construction process. We’ll also discuss where you can acquire these materials and tools.
Materials for Fire Pit
Before starting your DIY fire pit project, gather the following materials:
- Concrete mix
- Rebar or mesh wire
- Firebrick or heat-resistant stones
- Gravel
- Sand
- Waterproofing agent
- Adhesive
- Stainless steel ring or liner
- Decorative rocks or glass
Tools for Fire Pit Construction
In addition to the materials, you’ll need the following tools to construct your fire pit:
- Shovel
- Wheelbarrow or mixing tub
- Trowel
- Level
- Tape measure
- Mason’s string
- Concrete mixer or mixing paddle
- Wire cutters
- Pliers
- Hammer
- Paintbrush
Purchasing these materials and tools can be done at your local home improvement stores or online retailers. Compare prices, read reviews, and choose quality products that suit your budget and project requirements.
| Material/Tool | Description |
|---|---|
| Concrete mix | A pre-mixed blend of cement, sand, and gravel used for creating the fire pit structure. |
| Rebar or mesh wire | Provides reinforcement for the concrete, enhancing strength and durability. |
| Firebrick or heat-resistant stones | Lays the foundation for the fire pit’s interior, withstanding high temperatures. |
| Gravel | Creates a stable base for the fire pit, promoting proper drainage. |
| Sand | Used for leveling the ground and as a base for the firebrick. |
| Waterproofing agent | Protects the fire pit structure from water damage and increases its lifespan. |
| Adhesive | Bonds the firebrick or heat-resistant stones together, ensuring stability. |
| Stainless steel ring or liner | Creates a safe and contained fire area within the fire pit. |
| Decorative rocks or glass | Adds aesthetic appeal to your fire pit design. |
By gathering the necessary materials and tools before you begin construction, you’ll be well-prepared to complete your DIY concrete fire pit project efficiently and effectively.
Preparing the Ground and Foundation
Before starting the actual construction of your DIY concrete fire pit, it’s crucial to lay a solid foundation and prepare the ground properly. This will ensure the stability and longevity of your fire pit, providing a safe and enjoyable outdoor gathering space. In this section, we will guide you through the necessary steps to prepare the ground and create a sturdy foundation for your fire pit.
Here are the key steps involved in preparing the ground and foundation for your fire pit:
- Choose the location: Select a suitable location in your backyard for the fire pit. Ensure it is away from any flammable objects or structures and complies with local fire safety regulations.
- Clear the area: Remove any debris, vegetation, or other obstructions from the chosen location. This will provide a clean and level surface for the fire pit.
- Level the ground: Use a shovel, rake, or landscaping tool to level the ground where the fire pit will be placed. This will help prevent any unevenness or instability in the final structure.
- Mark the area: Use stakes, rope, or marking paint to outline the shape and size of the fire pit. This will serve as a visual guide during the construction process.
- Dig the hole: Use a shovel or excavator to dig a hole that will serve as the foundation for the fire pit. The depth and diameter of the hole will depend on the size of your fire pit design.
- Create a gravel base: Add a layer of gravel to the bottom of the hole. This will help with drainage and create a stable base for your fire pit.
- Compact the soil: Use a tamper or plate compactor to compress the soil around the edges of the hole and create a firm foundation. This will prevent the fire pit from sinking or shifting over time.
By following these steps, you will establish a solid foundation and level ground for your fire pit construction. This will ensure the longevity and stability of your DIY concrete fire pit, allowing you to enjoy cozy evenings and memorable gatherings with family and friends.
| Steps for Preparing the Ground and Foundation |
|---|
| Choose the location |
| Clear the area |
| Level the ground |
| Mark the area |
| Dig the hole |
| Create a gravel base |
| Compact the soil |
Building the Concrete Structure
Now that you have prepared the ground and created a solid foundation for your fire pit, it’s time to move on to the exciting part – building the concrete structure. This section will guide you through the step-by-step process of constructing a sturdy and stylish fire pit.
Making the Form
The first step is to create a form that will determine the shape and size of your fire pit. Start by measuring and marking the desired dimensions on the ground. Use wooden boards or metal edging to build the form, ensuring it is level and securely held in place.

Pro tip: Consider adding decorative elements to the form, such as mosaic tiles or textured patterns, to customize the look of your fire pit.
Mixing and Pouring the Concrete
Next, it’s time to mix the concrete. Follow the manufacturer’s instructions for the correct water-to-concrete ratio. Use a mixing machine or a large container and mix until you achieve a smooth and consistent texture.
Once the concrete is ready, start pouring it into the form. Work systematically, ensuring an even distribution of the mixture. Use a trowel or a float to smooth the surface and remove any air bubbles.
Achieving the Desired Shape and Size
To achieve the desired shape and size of your fire pit, you can use a trowel, a float, or even your hands to sculpt the wet concrete. Take your time and pay attention to the details, ensuring a clean and polished finish.
Pro tip: Consider adding a ledge around the top edge of the fire pit to provide a convenient surface for drinks and snacks during gatherings.
Once you are satisfied with the shape and size of your fire pit, let the concrete cure according to the manufacturer’s instructions. This usually takes several days, so be patient and allow enough time for the concrete to harden and strengthen.
Congratulations! You have successfully built the concrete structure for your fire pit. In the next section, we will explore the various finishing touches you can add to make your fire pit truly stand out.
| Tools | Materials |
|---|---|
|
|
Adding Finishing Touches
Once the concrete structure is complete, it’s time to turn your fire pit into a stunning centerpiece for your outdoor space. Adding the right finishing touches can elevate its aesthetic appeal and create a truly inviting ambiance for your gatherings.
Fire Pit Design Ideas
When it comes to fire pit design, the possibilities are endless. Here are some ideas to inspire your creativity:
- Customize the shape: Consider incorporating unique shapes such as round, square, or rectangular to add visual interest to your fire pit.
- Use decorative fire pit covers: Opt for a decorative cover when the fire pit is not in use. This not only protects it from the elements but also adds a touch of elegance to your outdoor space.
- Create seating areas: Surround your fire pit with comfortable seating options like outdoor sofas or lounge chairs. This allows your guests to relax and enjoy the warmth of the fire pit.
- Add lighting elements: Illuminate the area around your fire pit with soft lighting options like string lights or lanterns. This creates a cozy and intimate atmosphere during nighttime gatherings.
- Incorporate natural elements: Enhance the natural beauty of your fire pit by incorporating elements like stones, pebbles, or driftwood. This adds a rustic touch and blends seamlessly with the surrounding landscape.
Decorative Elements for Fire Pit
To further enhance the visual appeal of your fire pit, consider incorporating these decorative elements:
- Fire glass: Replace traditional firewood with colorful fire glass. This creates a mesmerizing display of flames and adds a modern touch to your fire pit.
- Fire pit art: Install unique fire pit art pieces or sculptures around the pit area to make it a captivating focal point of your outdoor space.
- Planters and flowers: Surround your fire pit with beautiful planters or flower beds. This adds a refreshing touch of greenery and creates a harmonious blend between nature and fire.
- Outdoor rugs: Place outdoor rugs near your fire pit to define the seating area. Choose designs that complement your overall outdoor decor.
By incorporating these design ideas and decorative elements, you can transform your fire pit into a visually stunning and inviting space that will leave a lasting impression on your guests.
Fire Pit Design Ideas and Decorative Elements
| Design Ideas | Decorative Elements |
|---|---|
| Customize the shape | Fire glass |
| Use decorative fire pit covers | Fire pit art |
| Create seating areas | Planters and flowers |
| Add lighting elements | Outdoor rugs |
| Incorporate natural elements |
These design ideas and decorative elements will not only enhance the visual appeal of your fire pit but also create a welcoming and cozy ambiance for memorable outdoor gatherings.
Fire Pit Safety Measures
Safety is of utmost importance when it comes to enjoying your DIY concrete fire pit. By following essential safety tips, you can ensure a secure and enjoyable experience for everyone. In this section, we’ll provide you with guidelines for proper fire management, fire extinguisher placement, and regular maintenance to ensure your outdoor activities are safe and worry-free.
Proper Fire Management
- Always keep a close eye on the fire and never leave it unattended.
- Ensure that the fire is completely extinguished before leaving the area or going to bed.
- Do not use flammable liquids to start or accelerate the fire.
- Keep a safe distance from the fire pit while it is in use, especially if children or pets are present.
Fire Extinguisher Placement
Having a fire extinguisher nearby is crucial in case of emergencies. Follow these guidelines for proper placement:
- The fire extinguisher should be within easy reach of the fire pit.
- Place the fire extinguisher in a visible and accessible location.
- Regularly check the expiry date of the fire extinguisher and ensure it is in proper working condition.
Regular Maintenance
Maintaining your fire pit is essential to enhance safety and prolong its lifespan. Here are some maintenance tips:
- Regularly inspect the fire pit for cracks, wear, or damage.
- Clean the fire pit regularly to remove ashes, debris, and any flammable materials.
- Ensure that the fire pit’s drainage system is clear and free from obstructions.
- Apply a heat-resistant protective coating to prevent rust and corrosion.
By implementing these safety measures and practicing responsible fire management, you can enjoy the warmth and ambiance of your DIY concrete fire pit with peace of mind.

Tips and Tricks for a Successful Fire Pit Experience
To maximize your enjoyment of your DIY concrete fire pit, we’ve gathered some useful tips and tricks that will elevate your outdoor gatherings. These expert insights will help you create a cozy and inviting atmosphere while ensuring a safe and memorable experience.
1. Choose the Right Firewood
When it comes to fire pit tips, selecting the right firewood is crucial. Opt for hardwoods like oak or maple, as they burn longer, producing more heat and less smoke. Make sure the firewood is properly seasoned and dry to avoid excessive smoke and prevent sparks from flying.
2. Create Ambience with Lighting
Add a touch of magic to your fire pit area by incorporating ambient lighting. Stringing fairy lights or positioning LED candles in nearby trees or hanging lanterns can create a warm and enchanting atmosphere. Not only will this enhance the visual appeal, but it will also provide functional lighting for evening gatherings.
| Tips for Maximizing Fire Pit Enjoyment | ||
|---|---|---|
| Choose the Right Firewood | Create Ambience with Lighting | Enhance Comfort with Seating |
| Opt for hardwoods like oak or maple | String fairy lights or position LED candles | Consider comfortable seating options such as |
| Make sure the firewood is properly seasoned | in nearby trees or hanging lanterns | outdoor cushions or weatherproof lounge chairs |
| Avoid using green or wet wood | to create a warm and enchanting atmosphere | for added relaxation |
| to prevent excessive smoke and sparks | for evening gatherings. | . |
3. Enhance Comfort with Seating
Make sure your friends and family are comfortable while enjoying the fire pit by providing cozy seating options. Consider outdoor cushions or weatherproof lounge chairs that can withstand the elements and provide additional relaxation. Don’t forget to arrange the seating in a way that encourages conversation and interaction.
“The combination of crackling fire, soft lighting, and comfortable seating creates the perfect ambiance for memorable moments with loved ones.”
By following these fire pit tricks, you can enhance your fire pit experience and create lasting memories in your outdoor space. Keep these tips in mind as you design, build, and enjoy your DIY concrete fire pit.
Conclusion
Building a DIY concrete fire pit is a rewarding project that can completely transform your backyard into a comfortable and stylish outdoor space. By following our comprehensive step-by-step guide and incorporating the provided tips and safety measures, you can create a personalized centerpiece that will bring joy and warmth to your gatherings for years to come.
Throughout the process, we have covered everything from choosing the right location for your fire pit to gathering the necessary materials and tools. We have guided you through preparing the ground and creating a solid foundation, as well as building the concrete structure itself. Adding finishing touches and ensuring fire pit safety have also been key topics discussed.
Remember, safety should always be a priority when enjoying your DIY concrete fire pit. Keep in mind the essential safety tips we provided, such as proper fire management, fire extinguisher placement, and regular maintenance. By taking these precautions, you can enjoy your fire pit with peace of mind.
As you embark on this project, don’t be afraid to get creative and add personalized touches to your fire pit. Consider incorporating decorative elements, choosing seating options that suit your style, and landscaping the surrounding area to create a cozy and inviting ambiance.