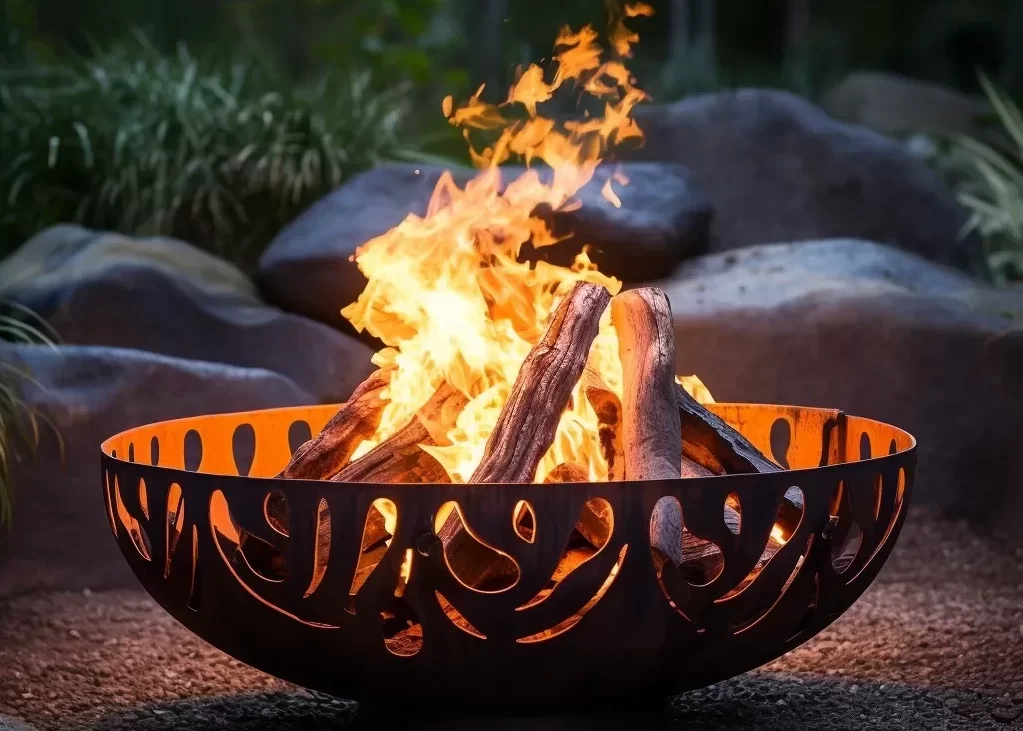


Are you ready to embark on a cozy outdoor adventure and enjoy the warmth of a crackling fire? Look no further than your Solo Stove, a portable and efficient fire pit that brings convenience and comfort to your outdoor space. Whether you’re camping, hosting a backyard gathering, or simply relaxing under the stars, knowing how to start a fire in your Solo Stove is essential for creating the perfect ambiance.
Starting a fire in your Solo Stove is easier than you might think. With the right tools and techniques, you’ll be enjoying a smokeless flame in no time. In this guide, we’ll walk you through the steps to ignite your Solo Stove safely and efficiently.
Key Takeaways:
- Starting a fire in a Solo Stove requires firewood, kindling, and firestarters.
- Gather the necessary materials, including Solo Stove Juniper Aromatic Firewood or kiln-dried hardwood.
- Build the fire by layering firewood and kindling in a specific pattern.
- Understand the science behind a smokeless flame in Solo Stove.
- Choose the right wood to enhance the quality of your fire.
Gathering the Materials
Before you can start a fire in your Solo Stove, it’s essential to gather the necessary materials. To ensure a successful fire-starting experience, you’ll need firewood, kindling, and firestarters. Let’s explore the different techniques and methods for gathering these materials:
Firewood
Firewood is the primary fuel for your Solo Stove fire. The first source recommends using seasoned hardwood logs, which provide long-lasting heat and a vibrant flame. You can source firewood from local suppliers or gather it yourself.
Kindling
Kindling is essential to ignite the firewood and create a sustainable flame. The first source suggests creating kindling by trimming down firewood with an axe or hatchet. This process involves breaking larger logs into smaller, more manageable pieces.
Pro Tip: If you don’t have access to firewood or prefer a more convenient option, you can use chunk wood as a substitute for kindling. Chunk wood is readily available and can be purchased from camping supply stores.
Firestarters
Firestarters are crucial for efficiently igniting the fire and ensuring a smooth start. The second source recommends using small sticks and twigs as natural fire starters. These can be easily found in the outdoors or prepared in advance.
By utilizing these solo stove fire starter techniques, you can ensure a reliable and efficient fire ignition process. The combination of firewood, kindling, and firestarters will provide you with the necessary components to start and maintain a successful fire in your Solo Stove.
| Materials | Description |
|---|---|
| Firewood | Seasoned hardwood logs |
| Kindling | Trimmed down firewood or chunk wood |
| Firestarters | Small sticks and twigs |
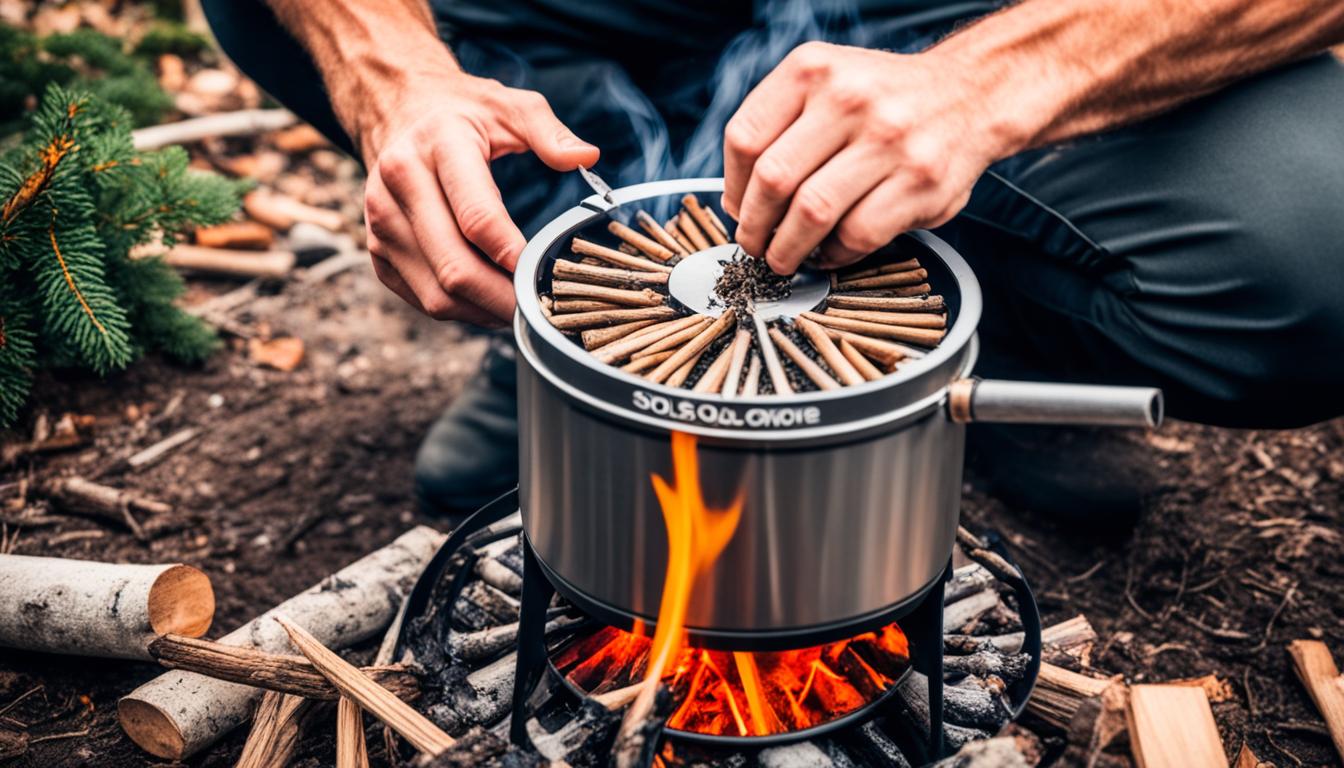
Building the Fire
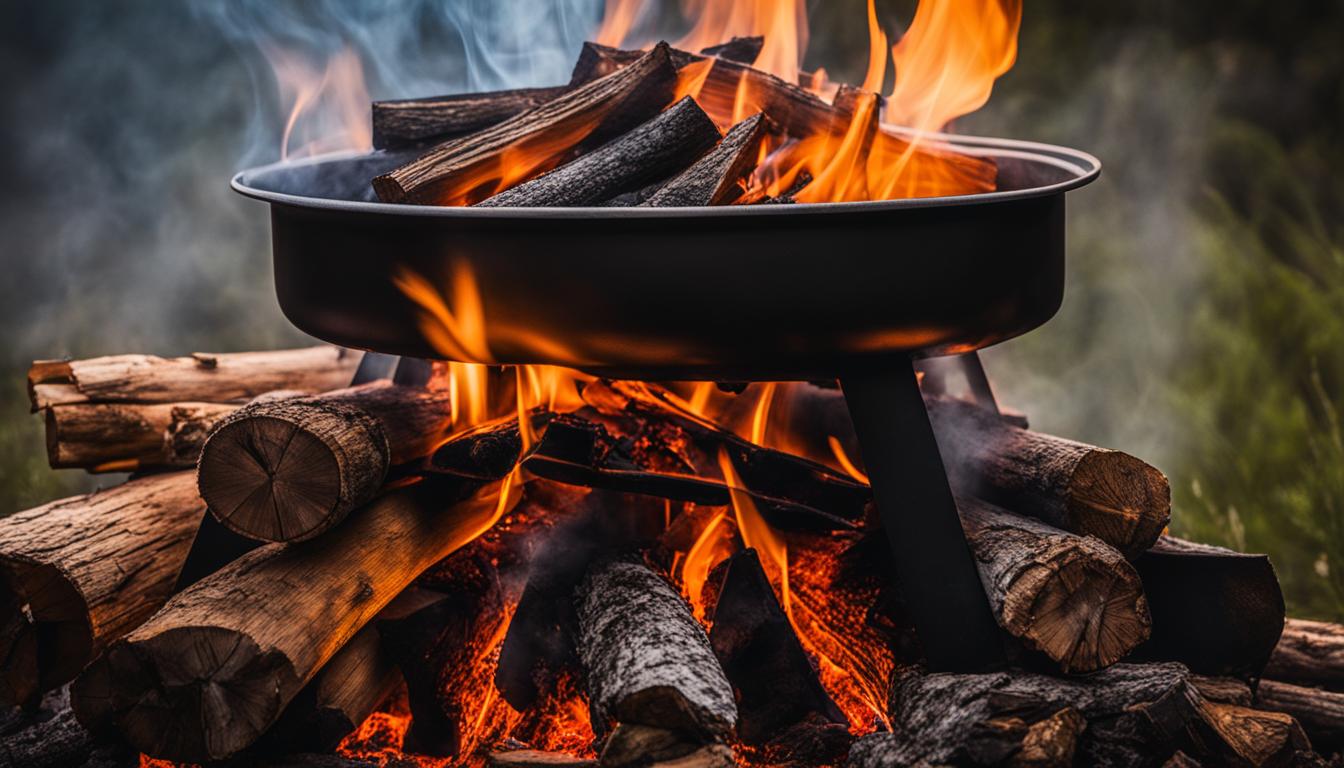
Once you have gathered the necessary materials, it’s time to start building your fire. The first source suggests laying down some firewood in a square shape on the base plate of your fire pit. Then, add kindling on top of the firewood and light the firestarters until they catch on fire. As the flame spreads to the surrounding kindling, add more pieces in a cone shape. If you run out of kindling, you can use chunk wood as a substitute.
According to the second source, creating a square border with kindling splits inside your Solo Stove is the key to a well-built fire. Place the fire starters evenly apart inside the border and light them with a long-nose lighter. Then, add larger logs one at a time, allowing each log to catch fire before adding another.
By following these steps, you will have a well-built fire in your Solo Stove.

| First Source | Second Source | |
|---|---|---|
| Building Steps |
|
|
The Science behind a Smokeless Flame
Have you ever wondered how Solo Stove creates a smokeless flame? Solo Stove fire pits are designed with a unique double-wall structure and strategically placed burn holes to achieve this remarkable effect. Let’s delve into the science behind it.
Solo Stove fire pits are double-walled with two sets of burn holes. The exterior burn holes are located at the bottom, while the interior burn holes are positioned at the top.
This innovative design allows for 360° airflow, serving two important functions:
- The lower burn holes pull in air, which enters the burn chamber under the base plate, feeding the fire from below. This constant supply of oxygen causes the fire to grow in both size and temperature.
- As the flame increases in temperature, the air drawn from the lower vent holes also rises to the top, quickly shooting out of the upper vent holes. This rising hot air combines with the smoke, creating a secondary burn that eliminates smoke and significantly contributes to the heat of the flame.
This ingenious airflow system creates a smokeless fire experience, ensuring a cleaner and more enjoyable outdoor ambiance with Solo Stove.

Understanding the science behind a smokeless flame can help you build a better fire in your Solo Stove. By utilizing the optimal airflow provided by the double-wall design, you can enjoy the warmth and coziness of a campfire without the hassle of smoke.
Choosing the Right Wood
The type of wood you use can greatly impact the quality of your Solo Stove fire. It’s important to select the right wood that provides optimal burning characteristics and enhances your outdoor experience. Here are some recommendations from experts:
- Solo Stove Juniper AromaticFirewood: This softwood is highly recommended by the first source. It’s easy to trim down and create kindling, making it ideal for starting your fire in a Solo Stove. Enjoy the aromatic scent and efficient burn of this specially designed firewood.
- Juniper firewood: The second source mentions the use of Juniper firewood, specifically custom-cut to fit inside Solo Stove fire pits. This ensures a perfect fit and ease of use.
- Kiln-dried hardwood: If you prefer hardwood, kiln-dried varieties are highly recommended. They burn longer and hotter than softwood, providing an extended and more intense fire to keep you warm during chilly nights around your Solo Stove fire pit.
- Aromatic Juniper, long-burning Oak, or eco-friendly Recycled Firewood: The third source suggests exploring different options such as aromatic Juniper, long-burning Oak, or eco-friendly Recycled Firewood. These choices offer distinctive burning characteristics and can cater to individual preferences.
By selecting the right wood for your Solo Stove, you can ensure a clean, efficient, and enjoyable fire that serves as the centerpiece of your outdoor gatherings.
Enjoying a Smokeless Fire
Starting a fire in your Solo Stove using the recommended techniques and materials will result in a smokeless flame. However, if you do encounter smoke after your fire has fully caught, there are several fixes you can try to enjoy a smokeless fire in your Solo Stove.
Proper Airflow
One of the main causes of smoke in a Solo Stove is poor airflow. Ensure that the fire pit’s vents are not blocked and allow for proper circulation of air. Clean out any debris or ashes that may be restricting airflow. By maintaining proper airflow, you can significantly reduce the chances of smoke.
Quality Wood
The type of wood you use can also affect the amount of smoke produced. Make sure you are using dry, seasoned firewood. Wet or green wood can produce more smoke and impede a smokeless fire. Opt for hardwoods like oak, cherry, or maple, as they tend to burn cleaner and produce less smoke.
Quick Fixes For A Smoky Fire
If you are still experiencing smoke issues, the first source suggests checking out their blog “Quick Fixes For A Smoky Fire” for more detailed tips on how to fix it. They provide additional troubleshooting steps and recommendations to eliminate smoke and enjoy a smokeless fire in your Solo Stove.
By following these guidelines for proper airflow and using high-quality wood, you can minimize or eliminate smoke while enjoying a cozy, smokeless fire in your Solo Stove. Remember to practice fire safety at all times and enjoy the warmth and ambiance of your Solo Stove without the hassle of smoke.
Conclusion
Starting a fire in your Solo Stove doesn’t have to be complicated. By following these tips and techniques, you can easily ignite your Solo Stove and enjoy a smokeless fire during your outdoor adventures. Remember to gather the right materials, including firewood, kindling, and firestarters, and build your fire correctly by layering the wood and lighting the firestarters. Understanding the science behind a smokeless flame, with Solo Stove’s unique design, will help you create the perfect fire every time.
Choosing the right wood for your Solo Stove is also crucial. Opt for options like Solo Stove Juniper AromaticFirewood or kiln-dried hardwood for longer and hotter burns. And if you do encounter any smoke issues, refer to the recommended fixes in our blog for quick solutions.
Master the art of fire-starting with Solo Stove and elevate your outdoor experience. Whether you’re camping, backpacking, or simply enjoying a cozy evening in your backyard, you can rely on Solo Stove to provide the best way to light a fire and create a warm, inviting ambiance.
How much did you like Our detailed Blog”? Review Also, please share these Blogs with your friends on social media.
Recommended