


Picture this: You’re deep in the heart of nature, surrounded by towering trees and the gentle sounds of wildlife. The sun begins to set, casting a warm glow across the landscape. As night falls, you gather around your campsite, eager to enjoy the cozy ambiance of a crackling fire. But there’s one problem – the smoke. It fills the air, stinging your eyes and leaving you with a lingering smell that lingers on your clothes for days.
That’s where Solo Stove comes in. This innovative outdoor stove is designed to give you a smokeless fire experience, so you can fully immerse yourself in the beauty of nature without any of the drawbacks. Whether you’re a seasoned adventurer or a beginner looking to dip your toes into the world of camping, Solo Stove is the perfect companion for your next outdoor adventure.
- Discover the joy of a smokeless fire experience with Solo Stove
- Eliminate the hassle of smoke-filled fires
- Enjoy the beauty of nature without compromising your comfort
- Perfect for both seasoned adventurers and beginners
- Unlock the potential for unforgettable outdoor cooking experiences
Takeaways>
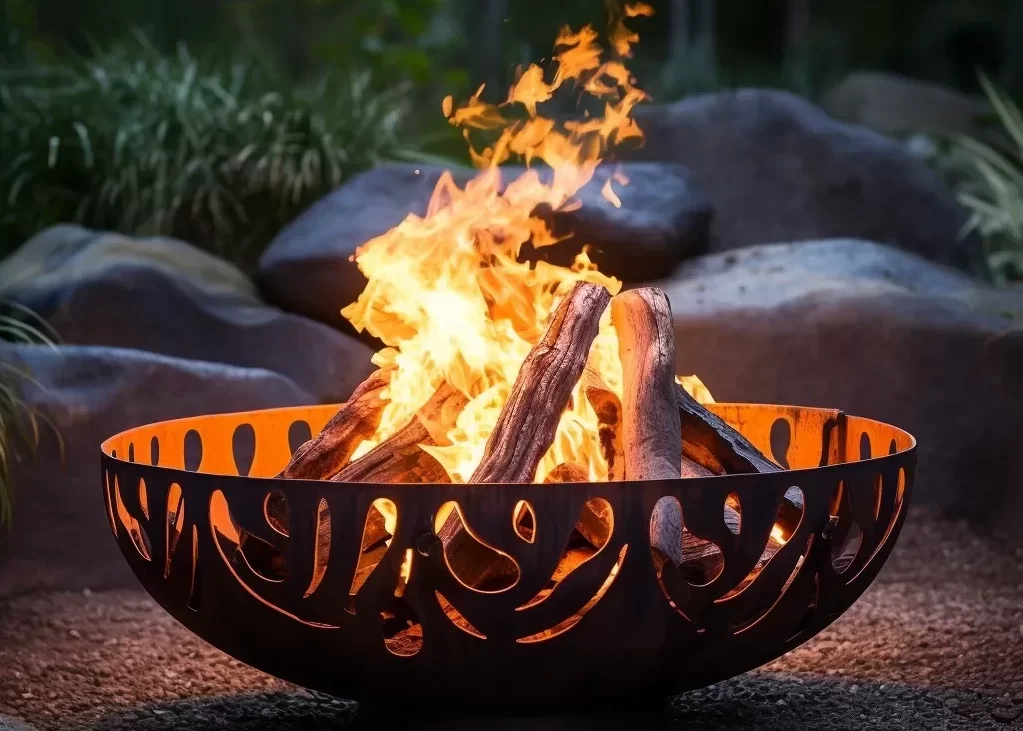
Solo Stove: A Smokeless Fire Experience
When it comes to outdoor fire pits, Solo Stove stands out as a game-changer. Offering a smokeless fire experience, Solo Stove combines innovative design with advanced technology to provide campers, hikers, and outdoor enthusiasts with a hassle-free way to enjoy the warmth and ambiance of a fire.
So, what makes Solo Stove different from traditional fire pits? The secret lies in its unique airflow system. The stove features a double-wall design with strategically placed vents that promote efficient combustion. As the fire burns, the heated air inside the stove is drawn up through the vents, creating a secondary combustion of any remaining smoke and reducing it to a minimum. This means you can enjoy the mesmerizing flames without the annoyance of smoke constantly blowing in your face.
Solo Stove Ignition Tips
- Choosing the right kindling: Use dry and lightweight materials like twigs, small branches, or paper to ignite your Solo Stove. Avoid using wet or damp materials, as they can hinder the ignition process.
- Creating an air pocket: Arrange your kindling in a cone shape within the Solo Stove, leaving enough space in the center for air to flow. This ensures proper ventilation, allowing the fire to catch and spread easily.
- Using a fire starter: To kickstart the fire, consider using fire starters such as eco-friendly firelighters or cotton balls soaked in petroleum jelly. Place them in the center of the kindling and ignite them with a lighter or match.
Solo Stove Maintenance Guide
To keep your Solo Stove in excellent condition and ensure its longevity, follow these maintenance tips:
- Regular cleaning: Remove ashes and debris from your Solo Stove after each use. This will prevent clogging of the airflow vents and help maintain optimal performance.
- Avoid water exposure: Solo Stove is made of durable stainless steel, but it’s best to avoid leaving it exposed to rain or snow for extended periods. Moisture can cause rust and damage the stove’s functionality.
- Protective storage: When not in use, store your Solo Stove in a clean and dry place. Consider using a protective cover to shield it from the elements.
By following these simple tips, you can ensure that your Solo Stove remains in top shape and continues to provide you with unforgettable moments around the campfire.
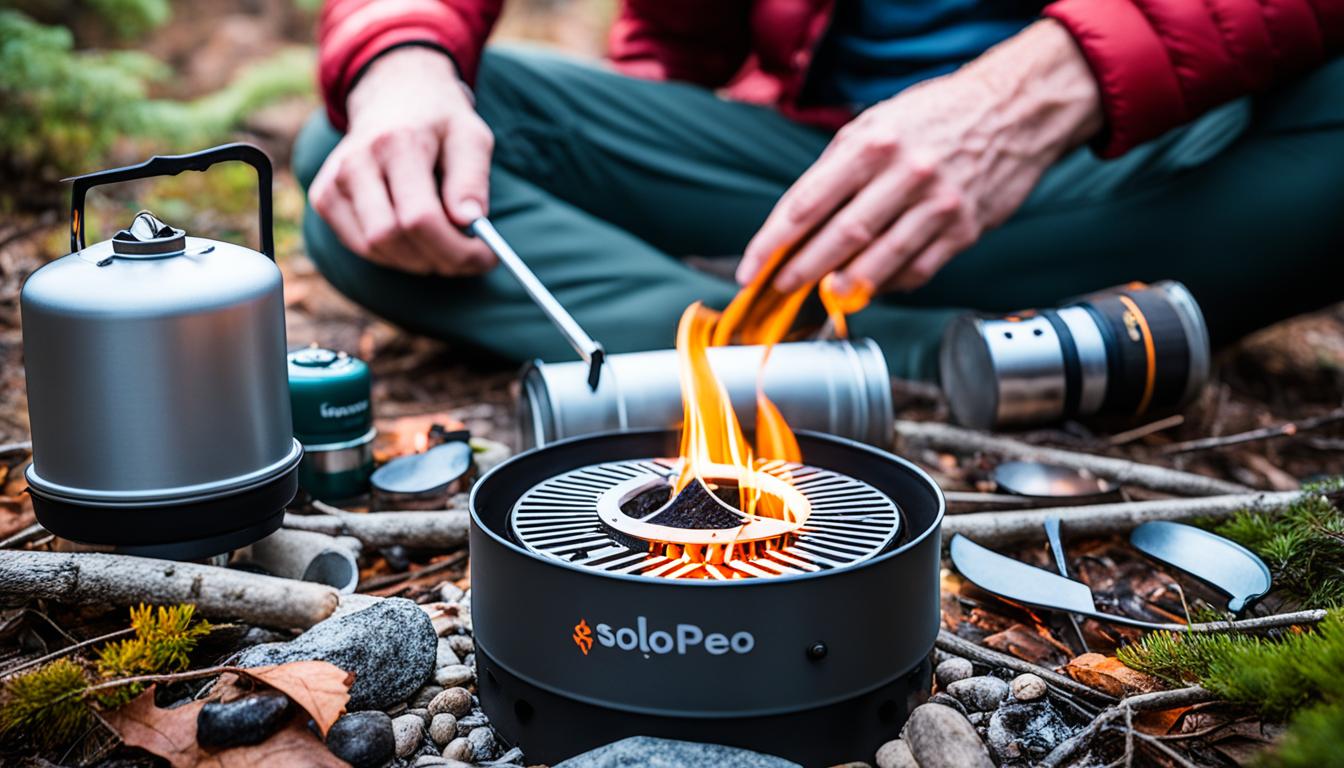
Getting Started: Solo Stove Tutorial
Are you ready to embark on your outdoor adventure with your Solo Stove? Follow our step-by-step tutorial to set up your Solo Stove and get your fire started with ease. Whether you’re a beginner or an experienced adventurer, our detailed instructions will ensure a hassle-free experience.
1. Assembling the Components
Before you begin, make sure you have all the necessary components for your Solo Stove. Refer to the user manual or the Solo Stove website for the specific model you are using. Typically, the components include:
- The Solo Stove body
- The fire ring (if applicable)
- A stainless steel pot stand (if applicable)
- A cooking pot (if applicable)
- A pack of wood pellets or twigs
- A lighter or matches
Once you have gathered all the components, you are ready to proceed to the next step.
2. Setting Up Your Solo Stove
Find a suitable location for your Solo Stove, ensuring it is placed on a stable and non-flammable surface. It’s important to choose a well-ventilated area away from any overhanging branches or flammable materials.
To set up your Solo Stove, follow these simple steps:
- Place the Solo Stove body on the selected location.
- If applicable, assemble the fire ring by securely attaching it to the Solo Stove body.
- If using a pot stand, place it on top of the Solo Stove body.
- Position your cooking pot on the pot stand.
Your Solo Stove is now ready for ignition.
3. Igniting Your Solo Stove
Now that your Solo Stove is set up, it’s time to ignite the fire. Follow these guidelines to ensure a successful ignition:
- Gather a small amount of wood pellets or twigs and place them inside the Solo Stove. Avoid overloading the stove with fuel, as it may hinder proper airflow.
- Use a lighter or matches to ignite the wood pellets or twigs through the stove’s opening.
- Allow the fire to catch and closely monitor its progress. If necessary, add additional fuel to maintain the desired flame.
Once your fire is burning steadily, you can adjust the flame intensity using the primary and secondary air vents located on the Solo Stove body.
4. Safety Precautions
While using your Solo Stove, it’s important to prioritize safety. Follow these precautions:
- Keep children and pets at a safe distance from the Solo Stove.
- Avoid touching the Solo Stove while it is in use, as it can become extremely hot.
- Never leave the Solo Stove unattended, especially when there is an active fire.
- Always extinguish the fire completely before leaving the Solo Stove unattended or packing it away.
By following these instructions and safety precautions, you can confidently start your Solo Stove and enjoy a smokeless fire experience on your outdoor adventures.

Mastering the Art of Outdoor Cooking
One of the best things about owning a Solo Stove is the opportunity to enjoy delicious outdoor meals. Whether you’re camping, hiking, or simply spending time in your backyard, cooking with a Solo Stove adds an extra element of excitement to your outdoor adventure.
To make the most of your cooking experience, it’s important to know how to properly light your Solo Stove, control the flame, and utilize its features. Follow these instructions and become a Solo Stove cooking expert in no time.
How to Light a Solo Stove
Lighting your Solo Stove is a simple process that requires a few essential steps. Follow this guide to ensure a successful ignition:
- Ensure your Solo Stove is placed on a stable and non-flammable surface, away from any overhanging branches or flammable objects.
- Gather dry twigs, leaves, or other small combustible materials to use as tinder.
- Carefully place the tinder inside the Solo Stove, making sure not to overcrowd it.
- Use a fire starter or a match to ignite the tinder through one of the stove’s air vents.
- As the fire starts to catch, gradually add larger pieces of wood to maintain a steady flame.
By following these steps, you’ll be able to light your Solo Stove efficiently, allowing you to focus on your cooking without any hassle.
Controlling the Flame and Using Your Solo Stove
Once your Solo Stove is lit, it’s essential to know how to control the flame to achieve optimal cooking conditions. Here are a few tips:
- Adjust the airflow by opening or closing the vents on your Solo Stove. This will help regulate the intensity of the flame and control the heat distribution.
- Place a cooking grate or a pot support on top of the stove to create a stable surface for cooking.
- Use a heat-resistant cooking utensil to handle pots and pans on the stove.
- Experiment with different cooking techniques, such as direct heat or indirect heat, depending on the dish you’re preparing.
Remember, practice makes perfect! Don’t be afraid to try new recipes and cooking methods to explore the full potential of your Solo Stove.
Creating Delicious Outdoor Meals
With your Solo Stove properly set up and the flame under control, it’s time to unleash your culinary creativity. Whether you’re grilling vegetables, searing a steak, or simmering a hearty stew, the Solo Stove enables you to cook a wide variety of mouthwatering meals.
Here’s a sample menu to inspire your outdoor cooking adventures:
| Dish | Description |
|---|---|
| Grilled Shrimp Skewers | Marinated shrimp grilled to perfection with a smoky flavor. |
| Campfire Mac and Cheese | Creamy mac and cheese with a crispy golden crust. |
| One-Pot Chili | A comforting classic made with a savory blend of beans, ground meat, and spices. |
| Grilled Pineapple Dessert | Caramelized pineapple slices topped with a scoop of vanilla ice cream. |
Experiment with different ingredients, techniques, and flavors to make each outdoor meal a memorable experience. With your Solo Stove, the possibilities are endless.

Now that you have mastered the art of outdoor cooking with your Solo Stove, it’s time to gather your friends and family, and embark on unforgettable culinary adventures in the great outdoors. From breakfast to dinner, and everything in between, your Solo Stove will be your trusted companion for creating delicious meals and unforgettable memories.
Conclusion
By following this comprehensive guide on how to start the Solo Stove, you are now equipped with the knowledge to embark on exciting outdoor adventures without the hassle of smoke-filled fires. The Solo Stove offers you the freedom of a smokeless fire experience, allowing you to fully immerse yourself in the beauty of nature.
With its unique design and efficient combustion system, the Solo Stove provides a clean and enjoyable fire experience. Say goodbye to choking smoke and hello to crackling flames that keep you warm and mesmerized. Whether you’re camping, hiking, or simply enjoying a backyard gathering, the Solo Stove elevates your outdoor experience.
Furthermore, with the art of outdoor cooking, the Solo Stove takes your culinary skills to new heights. From perfectly seared steaks to sizzling campfire meals, you can indulge in delicious dishes amid the great outdoors. With its easy-to-use setup and control, the Solo Stove empowers you to create memorable meals and share unforgettable moments with family and friends.
So, seize the opportunity to make the most of your outdoor escapades. Embrace the simplicity, efficiency, and beauty of the Solo Stove. Ignite your passion for adventure and savor the warmth of a smokeless fire that has revolutionized outdoor experiences.
How much did you like Our detailed Blog”? Review Also, please share these Blogs with your friends on social media.
Recommended