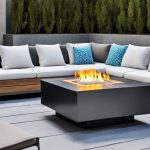
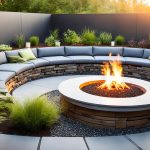
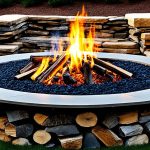
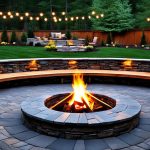
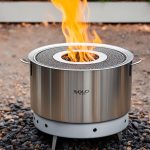
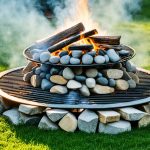
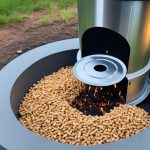
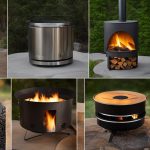
Are you ready to take your outdoor cooking and camping experience to the next level? The Solo Stove is an innovative and efficient solution that will revolutionize the way you enjoy the great outdoors. But do you know how to make the most out of your Solo Stove? Do you have all the tips and tricks you need to maximize its performance and create unforgettable outdoor experiences?
In this comprehensive guide, we will provide you with step-by-step instructions on how to effectively use your Solo Stove. From setting it up correctly and lighting the fire to cooking delicious meals and ensuring safety, we’ve got you covered. So, whether you’re a seasoned outdoor enthusiast or a beginner looking to enhance your outdoor cooking skills, this article is a must-read for you.
Get ready to unlock the full potential of your Solo Stove and elevate your outdoor adventures to a whole new level. Let’s dive in!
Key Takeaways:
- Learn how to set up your Solo Stove correctly for optimal performance.
- Discover the best methods for lighting your Solo Stove safely and efficiently.
- Explore different cooking techniques that you can use with your Solo Stove.
- Understand essential safety tips to ensure a worry-free experience with your Solo Stove.
- Maximize the efficiency of your Solo Stove by following expert tips and tricks.
Setting Up Your Solo Stove
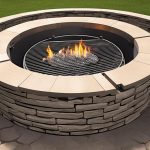
Before you start using your Solo Stove, it’s important to set it up correctly. Proper setup ensures optimal performance and efficient burning. In this section, we will walk you through the process of setting up your stove, including assembling the stove, positioning it on a stable surface, and ensuring proper ventilation.
Assembling Your Solo Stove
To begin, follow these simple steps to assemble your Solo Stove:
- Place the base of the stove on a flat and stable surface.
- Attach the main body of the stove to the base by aligning the tabs and twisting it securely into place.
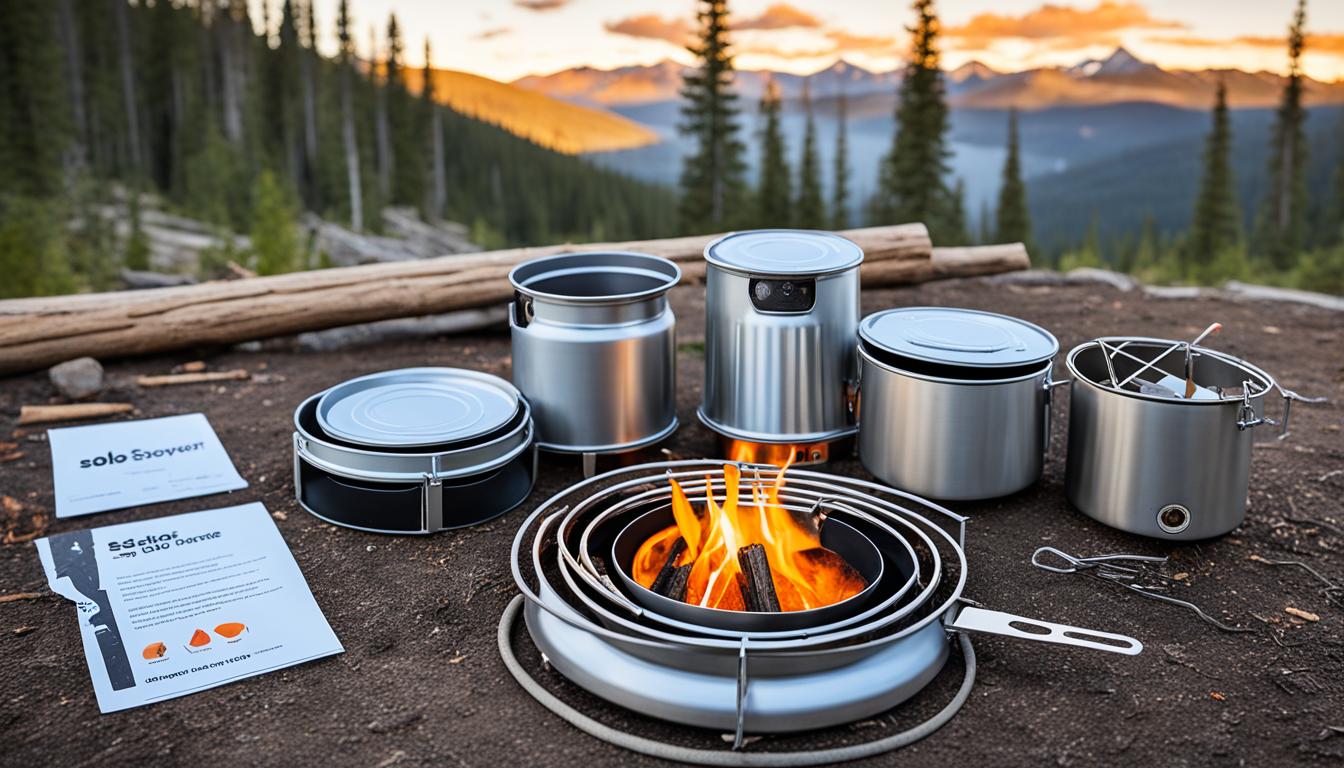
- Insert the removable cooking ring on top of the stove body. This ring provides stability for your cookware and helps to distribute heat evenly.
- Attach the stainless steel cooking grate (if included) to the cooking ring. The cooking grate is perfect for grilling or using small pots and pans.
Positioning Your Solo Stove
Choosing the right location for your Solo Stove is crucial for safety and optimal performance. Follow these tips:
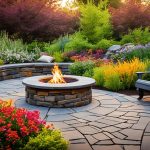
- Place your Solo Stove on a non-combustible surface, such as concrete or dirt.
- Ensure the stove is positioned on a level surface to prevent any accidents.
- Set up your stove at least 10 feet away from any flammable objects, including tents, trees, or overhanging structures.
- Consider wind direction when positioning your stove to prevent smoke from blowing into your seating area.
Ensuring Proper Ventilation
Proper ventilation is vital for efficient burning and avoids smoke buildup. Follow these guidelines:
- Make sure the stove’s intake vents at the bottom are clear and unobstructed.
- Situate the stove away from any walls or enclosed spaces to allow for unrestricted airflow.
- Use your Solo Stove in an open area or with a roof canopy that provides proper ventilation.
By following these setup instructions, you’ll be ready to start using your Solo Stove for memorable outdoor cooking experiences and cozy nights around the fire.
| Tip | Benefit |
|---|---|
| Proper assembly | Ensures stability and maximum performance |
| Position on a stable surface | Prevents accidents and improves safety |
| Adequate ventilation | Improves burning efficiency and reduces smoke |
Lighting Your Solo Stove
Once your Solo Stove is set up, it’s time to light the fire. Properly lighting your stove is essential for a safe and enjoyable outdoor experience. Follow these steps to ensure you have a successful fire:
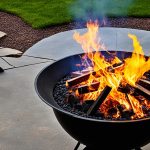
- Select the right kindling: Choose dry twigs, small sticks, or any other combustible material that easily catches fire. Avoid using wet or green wood, as it can produce excessive smoke and make it difficult to start the fire.
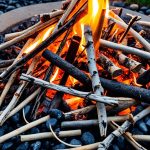
- Arrange the kindling: Create a small pile of kindling inside your Solo Stove. Ensure that there is enough airflow for the fire to breathe by leaving space between the sticks. You can also use the Solo Stove fire pit ring to help contain the fire while allowing sufficient oxygen flow.
- Use fire starters: To ignite the kindling, you can use fire starters designed specifically for outdoor fires. These are usually compact, waterproof, and easy to light. Simply place them within the kindling pile and light them with a match or a lighter.
- Maintain a steady flame: Once the fire starters have ignited the kindling, carefully add larger pieces of wood to the fire. Gradually increase the size of the wood to sustain the flame. Make sure the fire is well-maintained by periodically adding additional fuel as needed.
Remember to always follow safety precautions while lighting your Solo Stove and never leave a fire unattended. Enjoy the warmth and ambience of your Solo Stove while creating lasting memories around the fire.
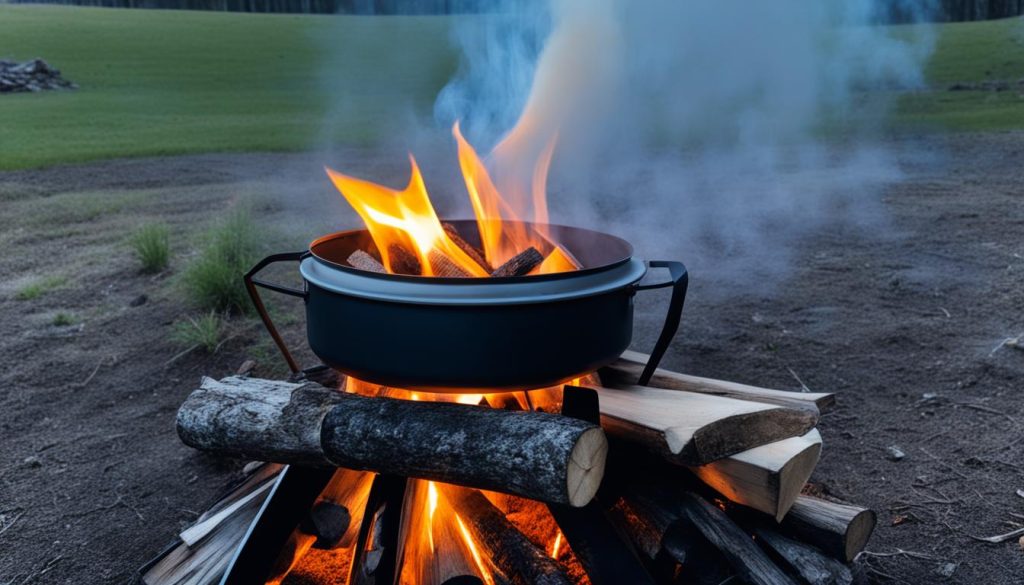
Cooking with Your Solo Stove
One of the great features of a Solo Stove is its versatility for outdoor cooking. Whether you’re camping, hiking, or simply enjoying a backyard cookout, your Solo Stove can be your go-to cooking companion.
Let’s explore some cooking techniques that you can try with your Solo Stove:
Boiling Water
Boiling water is one of the simplest and most essential cooking tasks when you’re in the great outdoors. Whether you need hot water for coffee, tea, or cooking, your Solo Stove is up for the task. Simply fill a pot with water, place it on the stove, and let the efficient fire do its magic. In no time, you’ll have boiling water ready for your needs.
Grilling
Who doesn’t love a good grilled meal? With your Solo Stove, you can enjoy mouthwatering grilled dishes even when you’re off the grid. Place a grill grate or a cast-iron skillet over the stove, and you’re all set to cook up delicious burgers, steaks, veggies, or anything else you fancy. The intense heat generated by the Solo Stove will give your food that perfect sear and smoky flavor.
Baking
Yes, you read that right—you can bake with your Solo Stove! With a Dutch oven or a baking pan, you can whip up delectable baked goods in the great outdoors. From bread and biscuits to pies and cobblers, the possibilities are endless. Just place your baking dish inside the stove, adjust the airflow to maintain the desired temperature, and let your Solo Stove work its magic.
Now, let’s move on to some tips for cooking with your Solo Stove:
- Use the right cookware: Invest in cookware that is compatible with your Solo Stove, such as stainless steel pots and pans or cast-iron skillets. Avoid non-stick pans as they can get damaged by high heat.
- Maintain optimal cooking temperatures: Adjust the airflow of your Solo Stove to control the intensity of the fire. This will help you achieve the desired cooking temperature for different recipes.
- Prep ingredients in advance: Outdoor cooking can be a bit challenging, so it’s a good idea to do some prep work beforehand. Chop vegetables, marinate meats, and measure out ingredients to make the cooking process smoother.
- Practice safety: Always follow safety precautions when cooking with your Solo Stove. Keep a safe distance from the fire, use oven mitts or heat-resistant gloves, and be mindful of hot surfaces.
“Cooking with my Solo Stove has transformed my outdoor adventures. The ability to boil water, grill, and even bake has made my camping trips much more enjoyable. Plus, the food tastes incredible!” – Sarah, avid outdoor enthusiast
With these cooking techniques and tips, you can make the most out of your Solo Stove and create delicious meals in the great outdoors. Whether you’re a camping enthusiast or simply love outdoor cooking, your Solo Stove will be your reliable companion.
Solo Stove Safety Tips
Safety should always be a priority when using any outdoor cooking equipment. Follow these important safety precautions to ensure a safe and enjoyable experience with your Solo Stove.
Fire Safety
- Always have a fire extinguisher or bucket of water nearby.
- Clear the area around the stove of any flammable materials, such as dry leaves or grass.
- Keep children and pets at a safe distance from the stove.
- Never leave the stove unattended while it’s burning.
Proper Fuel Use
- Only use dry and seasoned firewood or charcoal as fuel.
- Avoid using accelerants, such as gasoline, to start the fire.
- Do not overload the stove with fuel; use the recommended amount for efficient burning.
- Monitor the flame and adjust the air flow to maintain a steady burn.
General Maintenance Tips
- Regularly inspect the stove for any signs of damage or wear.
- Clean the stove after each use to remove ashes and debris.
- Store the stove in a dry place to prevent rust and prolong its lifespan.
- Follow the manufacturer’s instructions for any specific maintenance recommendations.
Remember, a well-maintained and properly used Solo Stove ensures both your safety and the stove’s longevity.
By following these solo stove safety tips and guidelines, you can enjoy your outdoor cooking adventures with peace of mind.
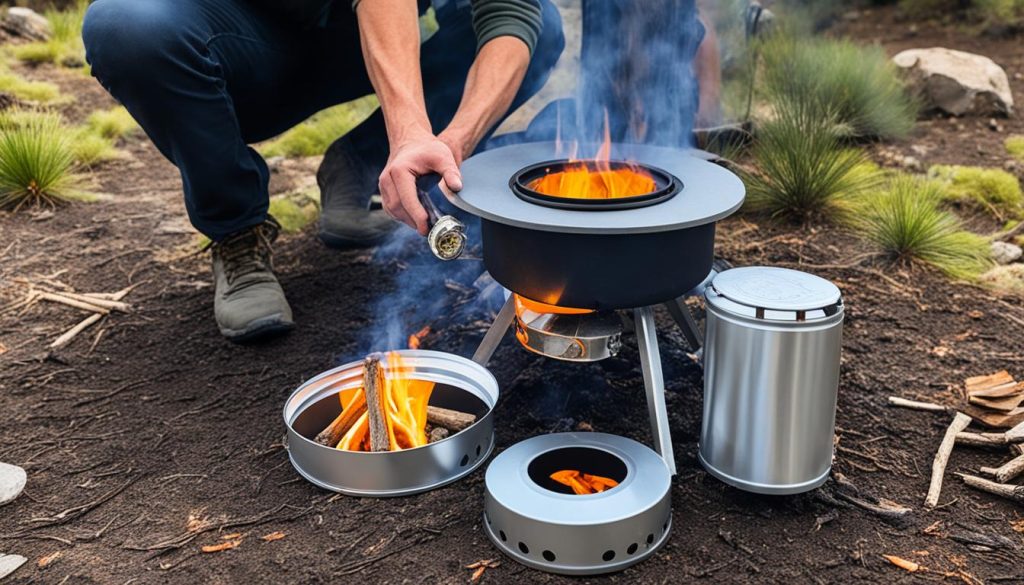
Maximizing Efficiency with Your Solo Stove
When it comes to outdoor cooking and warmth, Solo Stove is renowned for its fuel efficiency. In this section, we’ll provide you with valuable tips and tricks to help you get the most out of your Solo Stove, ensuring optimal performance and extended burn time.
Choose the Right Fuel
Using the right type of fuel is essential for maximizing efficiency with your Solo Stove. Opt for dry, seasoned hardwoods such as oak or maple. These dense woods burn longer and produce more heat compared to softer woods like pine. Avoid using green or damp wood as they can hinder combustion and reduce efficiency.
Optimize Airflow
Proper airflow is crucial for efficient burning in your Solo Stove. When setting up your stove, make sure to clear any debris or obstructions from the air vents and ensure they remain unobstructed during use. Additionally, positioning your stove on a stable, level surface will facilitate airflow and promote better combustion.
Use the Firebox Efficiently
To maximize the efficiency of your Solo Stove, pack the firebox with small sticks or twigs rather than large logs. These smaller pieces ignite more easily and create a hotter, more efficient fire. Layering your fuel in a crisscross pattern can also improve airflow and enhance combustion.
Monitor Flames and Adjust Accordingly
Keeping an eye on the flames while your Solo Stove is in use can help you optimize its efficiency. If the flames are too high, it may indicate that the stove is receiving too much oxygen. In such cases, partially closing the top vents can reduce the influx of air and regulate the flame. On the other hand, if the flames are too weak, you may need to adjust the vents to allow for better airflow.
Regular maintenance is crucial for ensuring the longevity and efficiency of your Solo Stove. By following these tips and tricks, you’ll be able to make the most out of your Solo Stove’s fuel efficiency, prolong its lifespan, and continue enjoying memorable outdoor experiences.
Cleaning and Maintenance
Proper cleaning and maintenance are essential for keeping your Solo Stove performing at its best. Regular maintenance not only ensures the longevity of your stove but also enhances its efficiency, allowing you to enjoy hassle-free outdoor cooking experiences. Follow our step-by-step instructions below to keep your Solo Stove in top shape:
Cleaning Your Solo Stove
1. Start by emptying the ashtray and removing any remaining ashes from the stove. Dispose of the ashes in a safe and appropriate manner.
2. Gently scrub the inside and outside of your Solo Stove with a non-abrasive brush to remove any soot or built-up residue.
3. For stubborn stains or residue, mix a small amount of dish soap with warm water and use a sponge or cloth to clean the affected areas.
4. Rinse the stove thoroughly with clean water and ensure that no soap residue remains.
5. Dry your Solo Stove completely before storing it. Moisture can cause rust and other damage.
Maintaining Your Solo Stove
1. Inspect the stove’s components regularly, including the burn chamber and air vents, for any signs of damage or wear. Replace any worn-out parts to maintain optimal performance.
2. Ensure that the air vents are clear and not obstructed by debris or ash. Clean them gently using a brush or compressed air if necessary.
3. Lubricate the joints and moving parts of your Solo Stove with a high-temperature grease to prevent rust and ensure smooth operation.
4. After each use, remove any leftover ash or debris from the burn chamber. This will prevent potential blockages and maintain proper airflow.
5. Store your Solo Stove in a dry and protected area when not in use to prevent exposure to moisture and other elements that may cause damage.
Cleaning and Maintenance Checklist
| Task | Frequency |
|---|---|
| Empty ashtray and remove ashes | After each use |
| Clean inside and outside of stove | As needed |
| Rinse stove with clean water | After cleaning |
| Inspect components for damage | Regularly |
| Clean air vents | Regularly |
| Lubricate joints and moving parts | Annually |
| Remove leftover ash or debris | After each use |
| Store in a dry and protected area | When not in use |
By following these cleaning and maintenance practices, you can ensure that your Solo Stove remains in excellent condition, providing you with reliable performance whenever you need it. Now that you’ve learned how to clean and maintain your Solo Stove, you’re ready to embark on memorable outdoor adventures knowing your stove is in its best shape.
Conclusion
Now that you have learned how to use your Solo Stove effectively, you are ready to embark on unforgettable outdoor adventures. By following the tips and tricks provided in this article, you can unlock the full potential of your Solo Stove and create memorable experiences.
With Solo Stove’s efficient design, you can enjoy delicious meals cooked over an open flame and cozy nights gathered around the fire. Whether you’re camping, hosting a backyard get-together, or simply relaxing in nature, your Solo Stove will be your reliable companion.
Remember to set up your Solo Stove correctly, ensuring stability and proper ventilation. Safely light your stove using the recommended kindling and fire starters. Explore the various cooking techniques available, from boiling water to grilling and even baking. And, of course, always prioritize safety and proper maintenance of your Solo Stove.
So, get ready to immerse yourself in the great outdoors and savor the thrill of outdoor cooking and warmth. With your Solo Stove as your trusted partner, the possibilities are endless. Happy cooking and happy adventuring!
How much did you like Our detailed Blog”? Review Also, please share these Blogs with your friends on social media.
Recommended

